> For the complete documentation index, see [llms.txt](https://docs.heliswap.io/llms.txt). Markdown versions of documentation pages are available by appending `.md` to page URLs; this page is available as [Markdown](https://docs.heliswap.io/getting-started/navigation-through-heliswap/swap.md).
# Swap
Swapping on HeliSwap
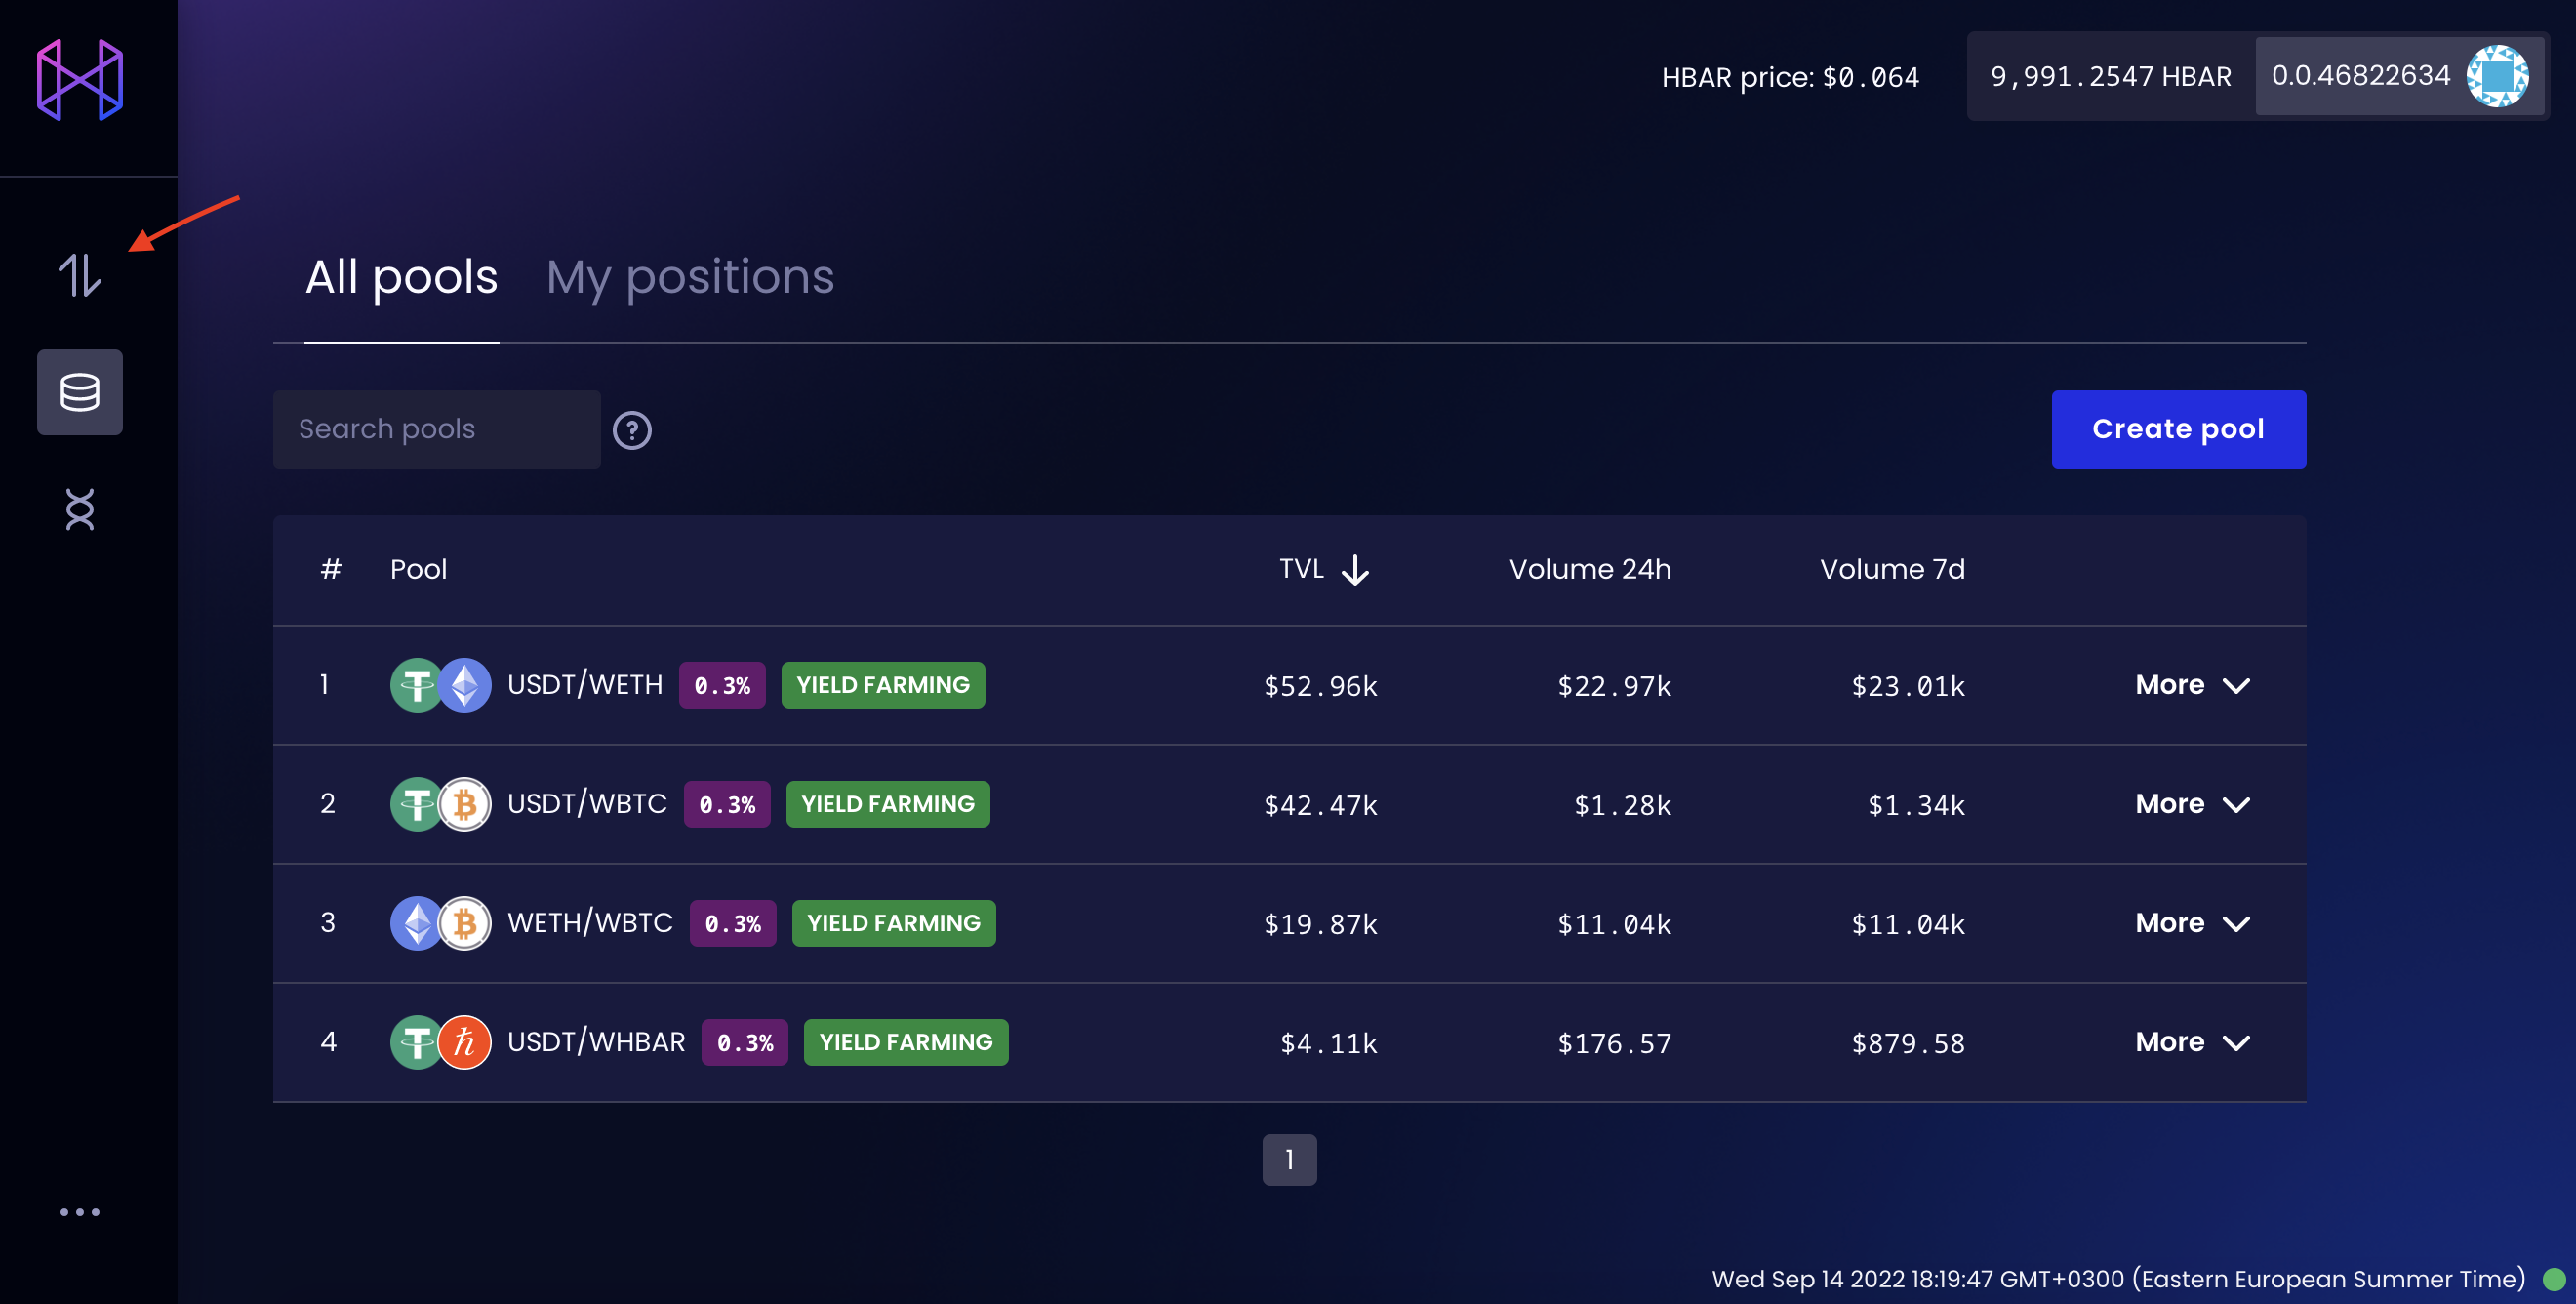
1. Click the **Swap** button in the navigation bar on the left hand side. It will take you to the Swap screen.
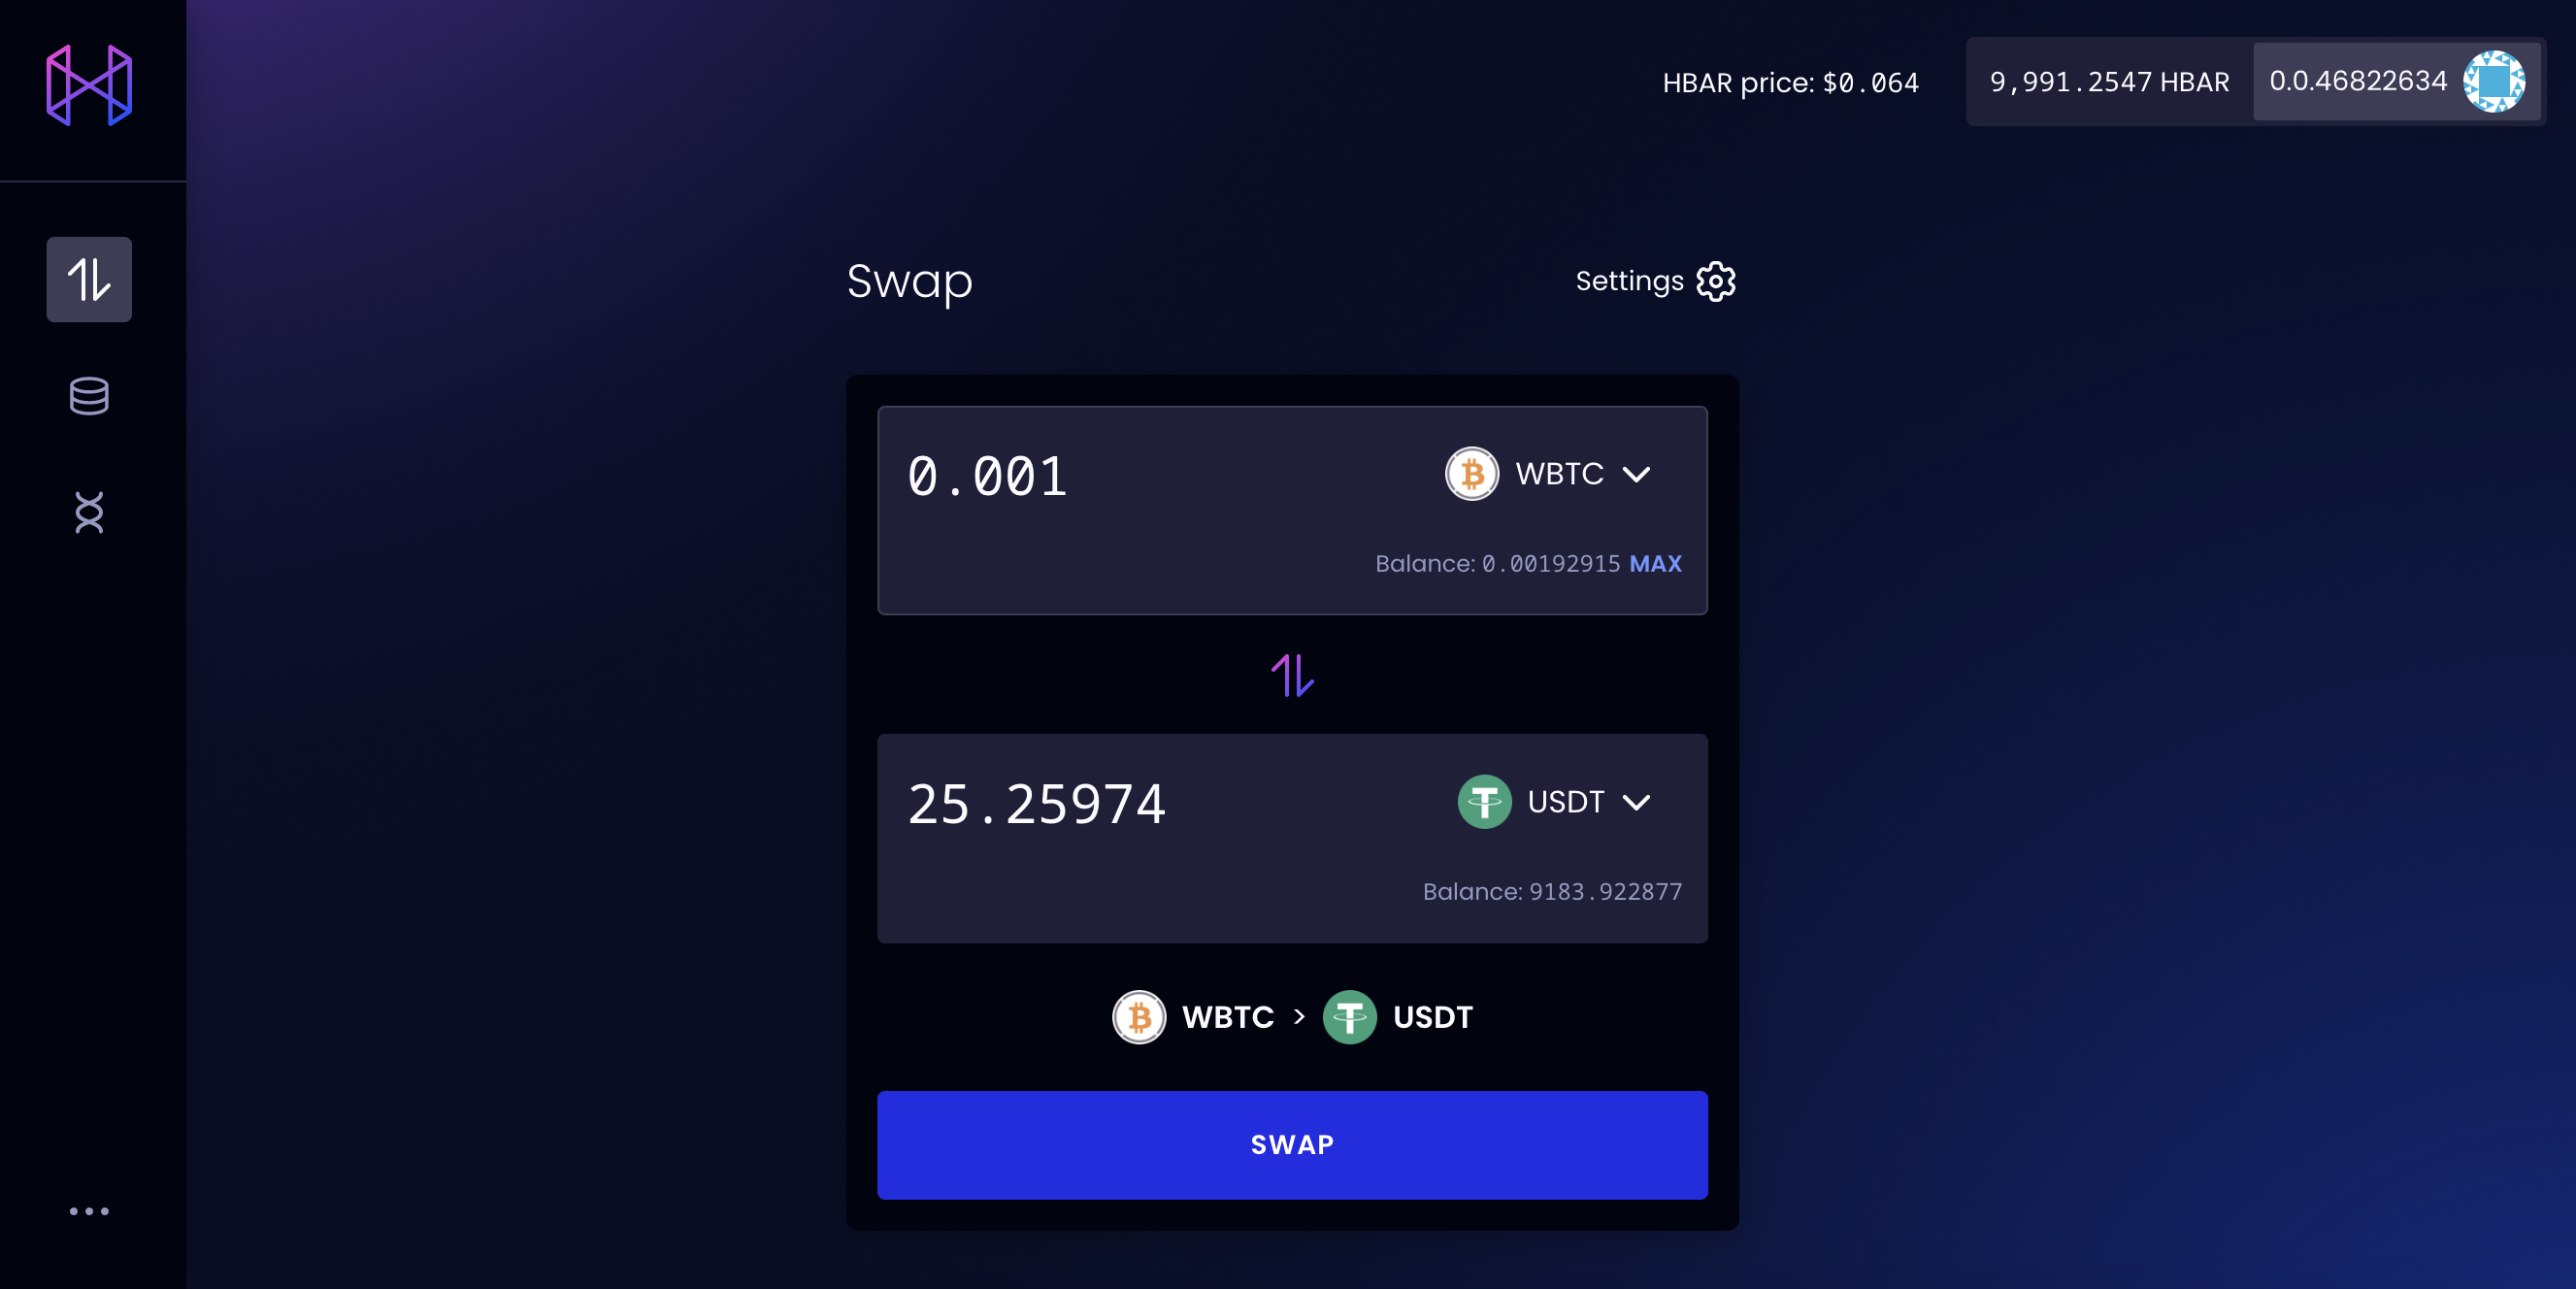
2. Once you have arrived at the Swap screen, you can start swapping by choosing two tokens. **Make sure there is an existing pool with the tokens you’d like to swap.**
3. Input the amount you would like to swap. The output amount is calculated and shown. Click **Swap**.
4. At the confirmation modal, the price impact, slippage % and estimated output are visible. If everything looks good, click **Confirm**. \
Approve the transaction on HashPack.
5. You have successfully swapped your tokens! \
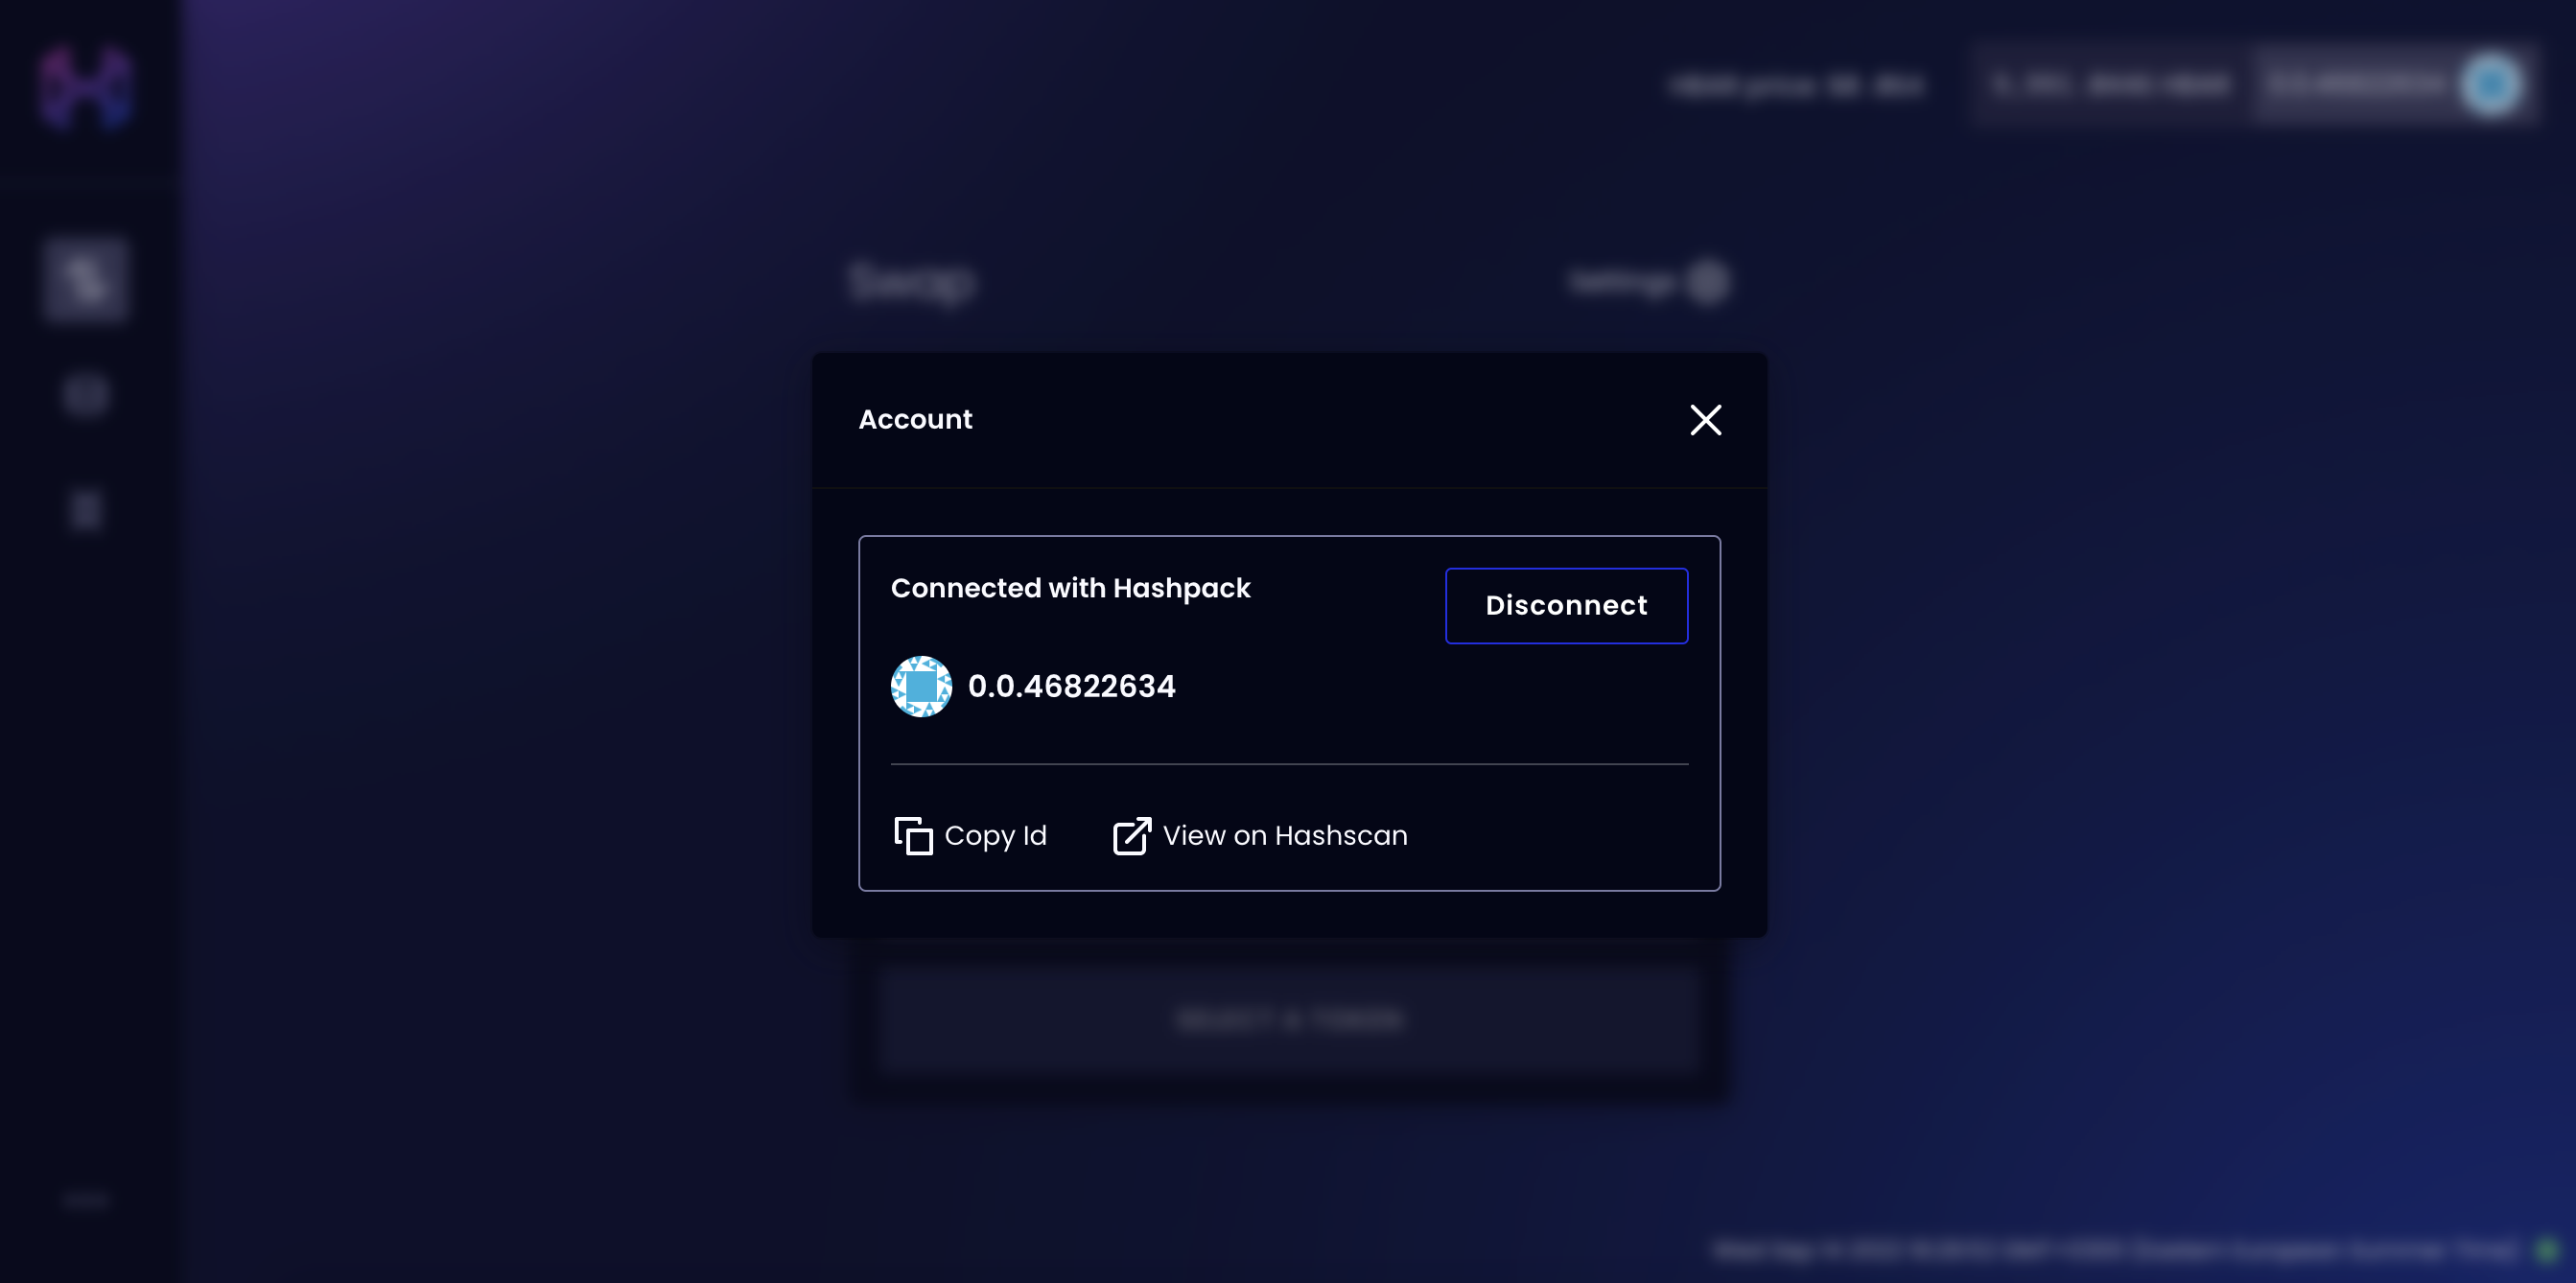
Clicking on your account ID at the top right corner gives you the option to **View on HashScan.** \
In HashScan, you can see the history of transactions performed by your account on HeliSwap.